How to Inspect Tungsten Carbide Bushings for Wear or Damage

Tungsten carbide bushings are known for their exceptional hardness and wear resistance, but even the strongest materials can deteriorate over time.

Regular inspection helps detect early signs of wear, cracking, or corrosion before they cause system failures.

If inspection is ignored, bushings may seize, increase vibration, or damage shafts — all of which lead to costly downtime.

This article explains how to inspect tungsten carbide bushings step by step, what tools to use, and how to determine if replacement is needed.

Why Inspection Matters

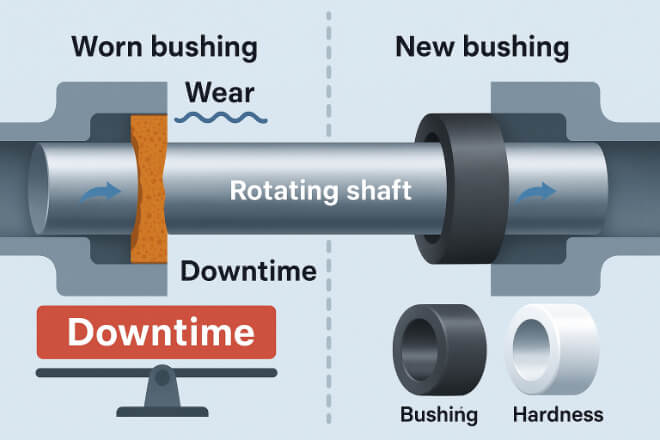
Bushings play a critical role in maintaining shaft alignment, reducing friction, and absorbing load.

When wear or cracks go unnoticed, it can cause:

  • Shaft misalignment and mechanical imbalance

  • Leakage in pumps or compressors

  • Increased friction and energy loss

  • Unexpected shutdowns or safety risks

Regular inspection ensures your tungsten carbide bushings remain within tolerance and perform as designed.

Step 1: Prepare for Inspection

Before starting, make sure the equipment is shut down, depressurized, and cooled. Gather all tools needed to measure and examine the bushing properly.

Tool / Equipment Purpose
Micrometer / Vernier Caliper Measure inner and outer diameters precisely
Dial Indicator Check concentricity and roundness
Magnifying Lamp / Microscope Inspect for microcracks or surface pitting
Surface Roughness Tester Check for wear or scoring on polished areas
Cleaning Solvent and Cloth Remove oil or dirt before inspection

Always inspect in a clean, well-lit area and record all measurements for comparison with original specifications.

Step 2: Visual Examination

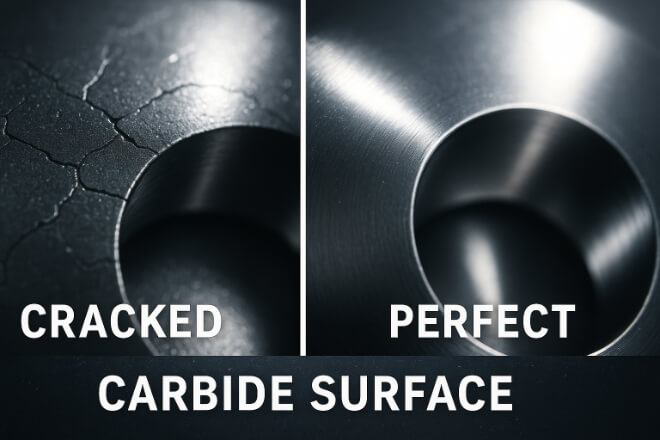
Start with a basic visual check to identify any obvious surface defects.
Look for:

  • Cracks: Usually start from edges or stress points

  • Pitting: Small round depressions indicating corrosion

  • Chipping: Caused by impact or improper handling

  • Discoloration: May indicate overheating or chemical attack

If you find any of these issues, note the location and extent. Even minor cracks can grow under pressure and lead to sudden failure.

Step 3: Dimensional Inspection

Tungsten carbide bushings must maintain tight tolerances for proper fit and performance.

Use precision tools like micrometers to measure inner diameter (ID), outer diameter (OD), and length. Compare these with original blueprints or manufacturer specs.

Parameter Nominal Tolerance Wear Limit
Inner Diameter (ID) ±0.01 mm +0.05 mm max
Outer Diameter (OD) ±0.02 mm -0.05 mm min
Length ±0.05 mm Shortening >0.1 mm indicates replacement

If the ID has increased beyond limits, it means the bushing has worn down and should be replaced to prevent shaft wobbling or leaks.

Step 4: Surface Condition Evaluation

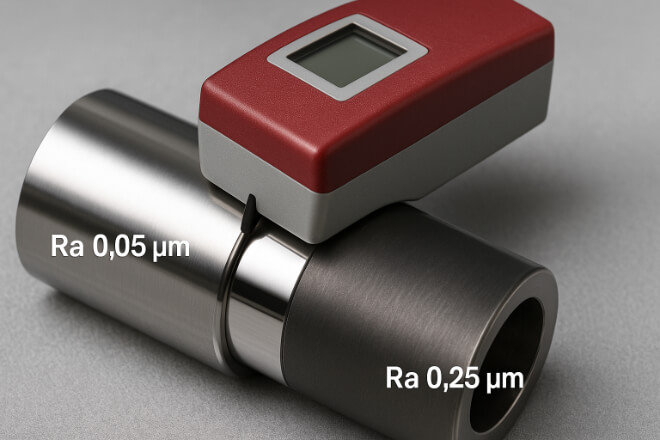
Surface quality directly affects performance, especially in rotating or sealing applications.

Use a surface roughness tester to measure the Ra value.

  • New bushing surface finish: Ra ≤ 0.05 µm

  • Worn surface: Ra ≥ 0.2 µm

You can also use a microscope or optical scanner to look for micro-pits or scoring marks.

If deep grooves are found, it usually indicates abrasive wear due to hard particles in the fluid.

Step 5: Check for Cracks and Structural Defects

Cracks may be invisible to the naked eye. For high-value or safety-critical parts, use non-destructive testing (NDT) methods:

Method Description Suitable For
Dye Penetrant Test Red dye seeps into cracks and becomes visible under UV light Small surface cracks
Ultrasonic Testing High-frequency sound waves detect internal voids or fractures Thick or large bushings
Eddy Current Inspection Detects near-surface defects using electromagnetic induction High-precision applications

If cracks are found, the bushing should be removed immediately and not reused — tungsten carbide cracks tend to grow under cyclic load.

Step 6: Evaluate Corrosion or Chemical Attack

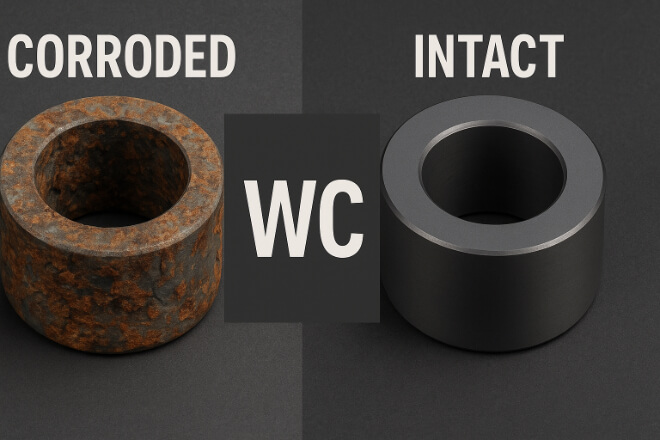
In chemical or marine systems, corrosion can gradually erode the binder metal (nickel or cobalt), leading to surface roughness increase or pitting.
Inspect for:

  • Dark spots or discoloration (chemical corrosion)

  • Porous texture (binder leaching)

  • Edge rounding (erosion in high-velocity fluids)

If corrosion is severe, consider switching to a nickel-bonded tungsten carbide grade (YN series) for better resistance in aggressive media.

Step 7: Compare with Operating History

Wear patterns often reveal underlying equipment issues. Compare your inspection data with previous maintenance logs to detect trends.

Observation Possible Cause Recommendation
Uneven wear on one side Shaft misalignment Check shaft balance and alignment
Deep grooves Solid particles or abrasive fluid Install better filtration or flush system
Polished areas only at edges Poor lubrication Review lubrication method
Surface pitting Corrosive media Use nickel binder grade
Cracks at corners Excess press-fit stress Adjust installation tolerance

Step 8: Decide on Reuse or Replacement

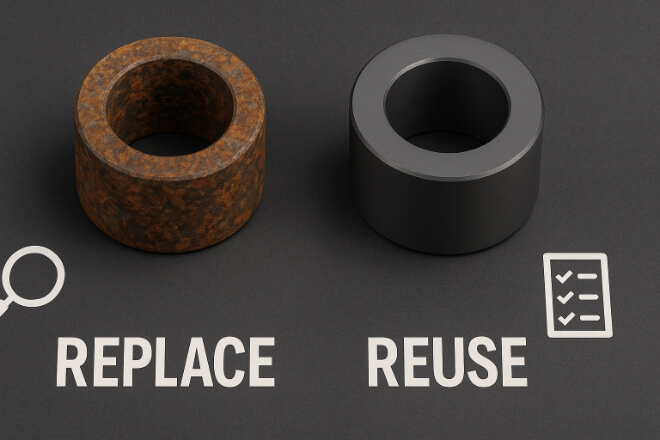
If dimensional wear exceeds limits or cracks are detected, replacement is the only safe option.

Re-lapping or polishing may temporarily restore surface finish, but this is only suitable for minor surface wear, not cracks or structural damage.

Always consult the supplier for recommended inspection intervals — typically every 3,000 to 5,000 operating hours depending on application.

Conclusion

Regular inspection of tungsten carbide bushings is vital for extending equipment life and avoiding costly downtime.

By checking dimensions, surfaces, and structural integrity, you can identify early warning signs and take preventive action.

Using proper inspection tools and recording wear data helps build a predictive maintenance plan, ensuring your machinery runs efficiently and safely.

If you want to know more details about any company, please feel free to contact us.

Leave a Reply

Your email address will not be published. Required fields are marked *