Bujes de carburo de tungsteno are critical components in rotating machinery. They support shafts, control alignment, and minimize wear under high-pressure or high-speed conditions.
While most engineers focus on material dureza and composition, tolerances and surface finishes often determine whether a bushing will succeed or fail in real operation.
Small differences in dimensional accuracy or roughness can change how fluids flow, how heat is transferred, and how long the equipment lasts.
This article explains why tolerances and surface finishes matter, how they are measured, and how to specify the right levels for your tungsten carbide bushings.
What Tolerance Means in Tungsten Carbide Bushings
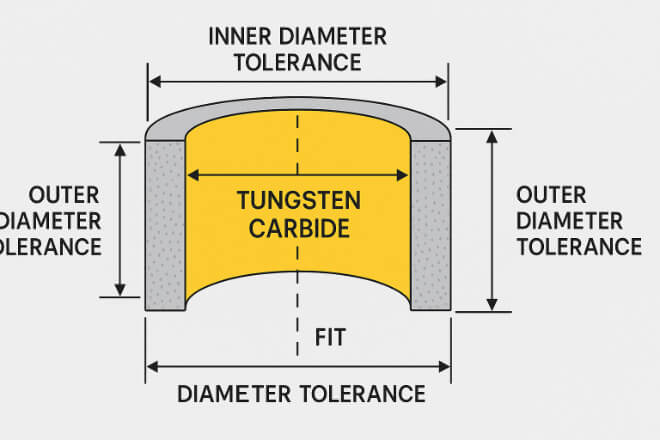
In machining, tolerance refers to how much variation is allowed from the target dimension.
For tungsten carbide bushings, these tolerances define the fit between the shaft and bushing bore, influencing performance, vibration, and sealing.
Tight tolerances ensure stability but increase production cost. Loose tolerances make assembly easier but can lead to leakage or shaft misalignment.
Choosing the right tolerance means balancing cost, performance, and manufacturability.
Common Dimensional Tolerances
Tolerances are usually expressed in micrometers (µm).
The typical classes for bujes de carburo de tungsteno are shown below:
| Bushing Type | Inner Diameter (ID) Tolerance | Outer Diameter (OD) Tolerance | Length Tolerance |
|---|---|---|---|
| General Industrial Grade | ±0.010 mm | ±0.015 mm | ±0.03 mm |
| Precision Pump Bushing | ±0,005 mm | ±0.008 mm | ±0,02 mm |
| High-Precision Aerospace Bushing | ±0,002 mm | ±0,005 mm | ±0,01 mm |
These tolerances depend on machining capability, grinding precision, and the required fit between bushing and shaft.
How Tolerances Affect Performance
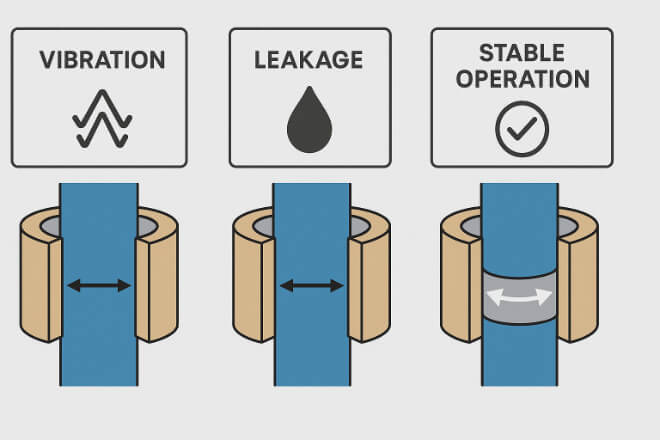
1). Tight Tolerances (±0.002 mm)
Provide excellent shaft stability.
Reduce vibration and noise.
Required in high-speed or vacuum pumps.
Increase cost and production time.
2). Medium Tolerances (±0.005–0.010 mm)
Common for industrial pumps or compressors.
Good balance between fit and manufacturability.
3). Loose Tolerances (±0.015 mm or more)
Used where fluid gaps or misalignment are acceptable.
Lower cost but reduced sealing efficiency.
In short, tolerance defines how precisely the bushing controls shaft movement.
For high-pressure and long-service environments, tight tolerance pays back in reduced downtime.
What Is Surface Finish and Why It Matters
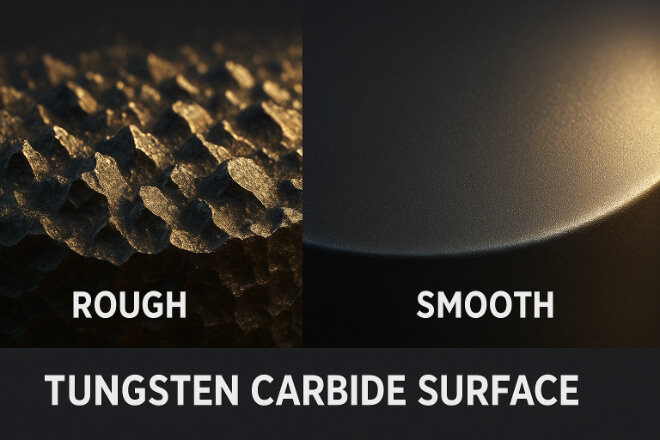
Surface finish describes the texture of a machined surface — usually measured as Ra (Roughness Average) in micrometers.
For tungsten carbide bushings, the finish affects:
Friction and lubrication film behavior
Sealing ability and leakage control
Resistance to pitting or corrosion
Heat generation during rotation
A smoother finish (low Ra) reduces friction and heat. However, some micro-roughness may help retain lubrication. The ideal balance depends on the application.
Typical Surface Finish Levels
Below is a comparison of surface roughness levels for different bushing types and how they affect performance.
| Solicitud | Surface Finish (Ra) | Efecto sobre el rendimiento |
|---|---|---|
| General Industrial | 0.2 – 0.4 µm | Good wear resistance and economy |
| High-Pressure Pump or Compressor | 0.1 – 0.2 µm | Improved sealing and lower friction |
| Mechanical Seal Interface | 0.04 – 0.05 µm | Mirror-like finish, prevents leakage and pitting |
Ultra-smooth finishes (Ra 0.04–0.05 µm) are achieved through lapping and polishing, often using diamond slurry to remove microscopic peaks.
The Relationship Between Tolerance and Surface Finish
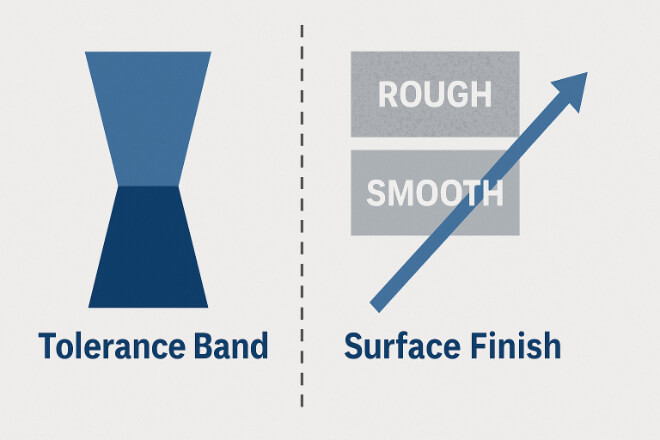
These two parameters are closely linked. If tolerances are very tight, the surface finish must also be consistent to maintain the same fit.
Por ejemplo:
A tight tolerance of ±0.002 mm with Ra 0.05 µm provides near-perfect sealing.
If surface roughness rises to Ra 0.3 µm, friction and heat increase even if tolerance is correct.
Thus, both dimensional precision and smoothness determine overall equipment reliability.
Measuring Tolerances and Surface Finish

Accurate inspection is key to ensuring quality. Manufacturers use several precision tools and methods:
Coordinate Measuring Machine (CMM): Measures 3D geometry to within ±0.001 mm.
Air Gauge Systems: Detect tiny variations in bore diameters.
Profilometers: Measure surface roughness (Ra, Rz, Rt).
Optical Flat Interference: Evaluates lapped surface flatness visually.
Frequent calibration of measuring devices ensures consistent production quality.
Specifying Tolerances for Your Equipment
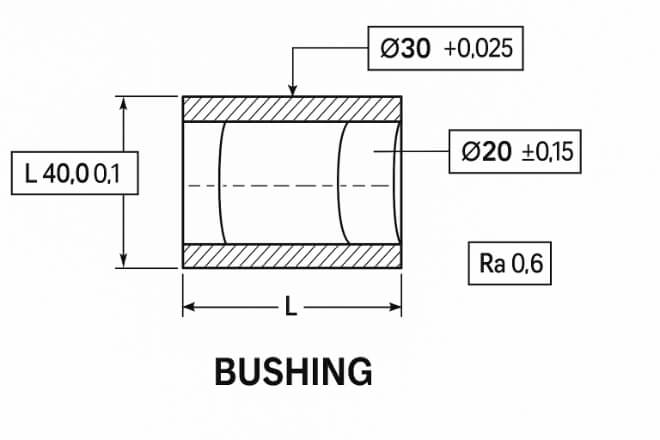
When ordering tungsten carbide bushings, engineers should clearly define:
Inner and outer diameter tolerances (e.g., ±0.005 mm)
Roundness and cylindricity limits
Surface finish (Ra) requirement
Flatness and concentricity for sealing applications
Provide both operating temperature and load data, since thermal expansion or pressure can affect actual fit in service.
Common Issues from Improper Tolerances or Finishes
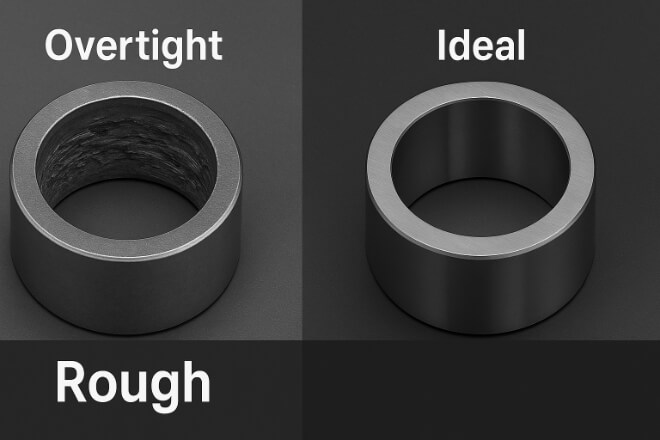
Incorrect tolerances or rough finishes can lead to multiple failures:
Excessive Clearance: Shaft vibration, poor sealing, faster wear.
Tight Fit: Increased friction, overheating, or cracking.
Rough Surface: High friction and pitting initiation.
Too-smooth Surface: Poor lubrication retention.
For best results, collaborate with your bushing manufacturer early to match tolerance and finish with the application’s real operating conditions.
Conclusión
Tungsten carbide bushings perform at their best only when the dimensional accuracy and surface finish are optimized together.
By understanding tolerance classes, selecting proper surface finish, and verifying through precision inspection, decision-makers can achieve longer equipment life, lower maintenance costs, and higher reliability.
In short — tighter control during manufacturing equals stronger performance in the field.
Si desea conocer más detalles sobre alguna empresa, no dude en contactarnos. Contáctanos.
