In modern manufacturing, precision tolerances are not just a technical detail—they are a business advantage.
In industries where piezas de desgaste de carburo are used, even the smallest dimensional error can lead to faster wear, higher downtime, and increased costs.
Whether you are producing tools for minería, petróleo y gas, automotor, o aeroespacial, meeting strict tolerances ensures long tool life, consistent performance, and customer trust.
This article will explain what precision tolerances mean, why they are important in carbide wear part manufacturing, the main challenges, and how companies can achieve them with the right processes and technology.
What Are Precision Tolerances?
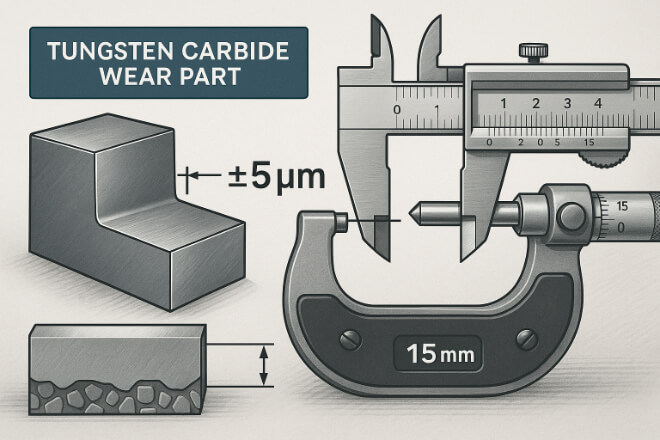
Precision tolerance is the allowable limit of variation in a part’s dimension.
In carbide wear parts, this is often measured in microns (one micron is one-thousandth of a millimeter).
Por ejemplo:
A ±5 μm tolerance means the part’s size can vary up to 5 microns above or below the design size.
In many critical applications, the tolerance can be ±1–2 μm.
The tighter the tolerance, the better the part will fit, function, and last under extreme conditions.
Why Precision Tolerances Matter for Carbide Wear Parts
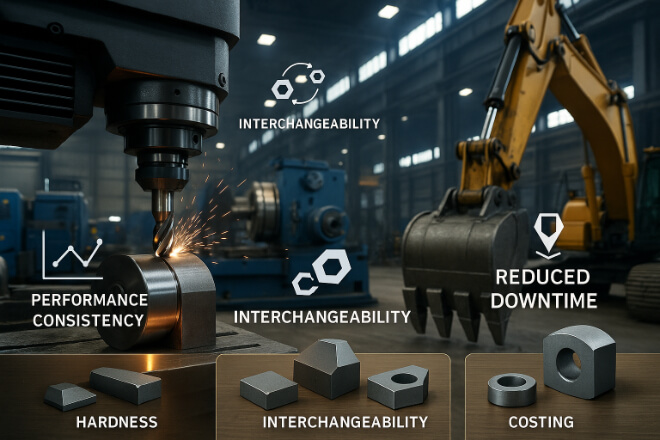
Carbide wear parts are often used in high-friction, high-pressure, and high-heat environments. These conditions make precise dimensions essential for:
Performance Consistency – Parts with exact dimensions maintain contact surfaces evenly, reducing wear.
Interchangeability – Components can be replaced without re-fitting or re-machining.
Reduced Downtime – Precision parts fit correctly the first time, avoiding machine stoppages.
Longer Service Life – Proper fit reduces vibration and uneven stress, which can cause early failure.
In sectors like mining, oil drilling, and precision machining, precision tolerances directly impact production efficiency and cost per part.
Key Factors That Influence Precision Tolerances
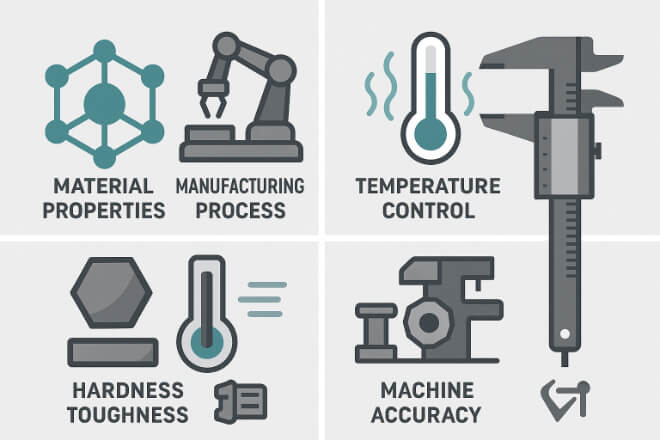
Several elements affect how well a manufacturer can achieve and maintain tight tolerances:
1). Material Properties
Tungsten carbide is extremely hard (up to 92 HRA), making it resistant to wear but difficult to machine.
Grain size, binder percentage, and density can all influence dimensional stability during processing.
2). Manufacturing Process
Pressing: Powder compaction must be consistent to avoid uneven shrinkage.
Sintering: This high-temperature process causes shrinkage of 15–25%, so precise control is critical.
Grinding: Precision grinding with diamond wheels is essential for achieving final tolerances.
3). Temperature Control
Heat expansion can cause size changes during machining.
Cooling systems must keep parts at stable temperatures during finishing.
4). Machine Accuracy
- CNC machines, surface grinders, and lapping equipment must be calibrated regularly to hold micrometer-level tolerances.
Achieving Tight Tolerances in Carbide Wear Part Manufacturing
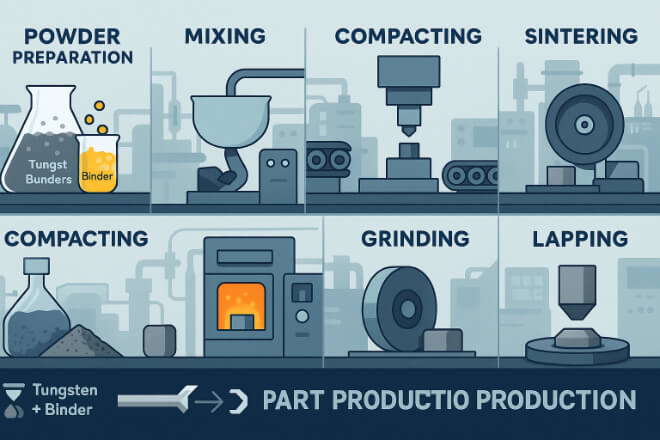
Manufacturing carbide wear parts to exact tolerances requires advanced techniques:
Step 1: Powder Preparation
The process begins with selecting the right carbide powder mix. A consistent grain size and binder distribution help ensure predictable shrinkage during sintering.
Step 2: Precision Pressing
High-pressure pressing (uniaxial or isostatic) forms the part close to its final shape. This minimizes the amount of grinding needed later.
Step 3: Controlled Sintering
During sintering, the part is heated to around 1400–1500°C. Computer-controlled furnaces manage temperature and time to ensure uniform shrinkage.
Step 4: Grinding and Lapping
Diamond grinding wheels remove material with extreme precision.
Lapping and polishing achieve surface finishes as smooth as Ra 0.1 μm.
Step 5: Quality Control
Every batch is checked using CMM (Coordinate Measuring Machines), laser scanners, and micrometers to verify that tolerances meet the drawing specifications.
Challenges in Holding Precision Tolerances
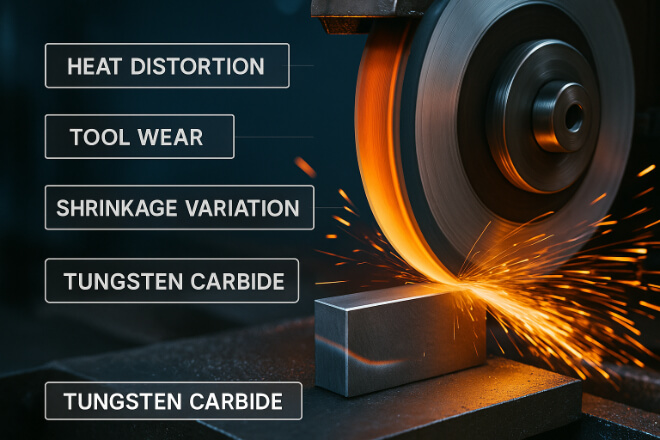
Even with advanced technology, several challenges can make it hard to maintain tight tolerances:
Material dureza – Carbide’s hardness makes it resistant to shaping.
Shrinkage variation – Slight differences in powder compaction or sintering conditions can affect final size.
Tool wear – Diamond grinding wheels wear over time, which can change the cut.
Thermal distortion – Heat during grinding can cause size changes if not controlled.
Manufacturers that succeed in overcoming these challenges typically combine experience, advanced machines, and strict process control.
Measuring and Verifying Tolerances
In precision manufacturing, measurement is just as important as machining. Some key tools include:
| Measurement Tool | Accuracy Level | Uso común |
| Micrometer | ±1 μm | External dimensions |
| Dial gauge | ±2–5 μm | Thickness/flatness |
| CMM machine | ±0.5–2 μm | Complex 3D profiles |
| Laser measurement | ±0.5 μm | Non-contact, fragile parts |
Impact of Tolerance on Cost and Performance
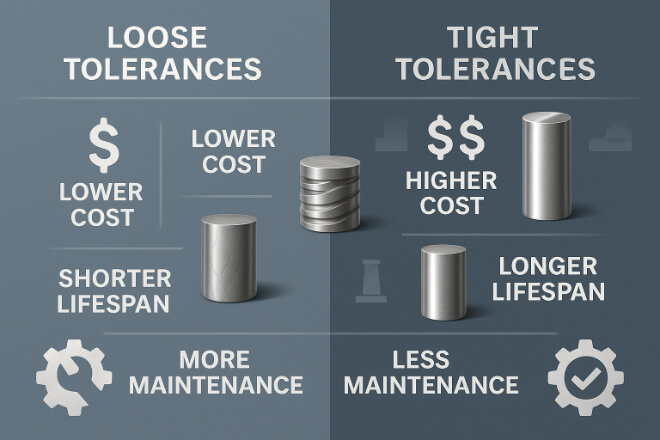
Tighter tolerances usually mean higher costs, but they also bring performance benefits:
Higher precision → longer part life, fewer replacements.
Better fit → less vibration and wear on connected parts.
Costos de mantenimiento más bajos → reduced downtime and labor.
The key for decision-makers is finding the best balance between tolerance level and total cost of ownership.
Industries That Rely on Precision Carbide Wear Parts
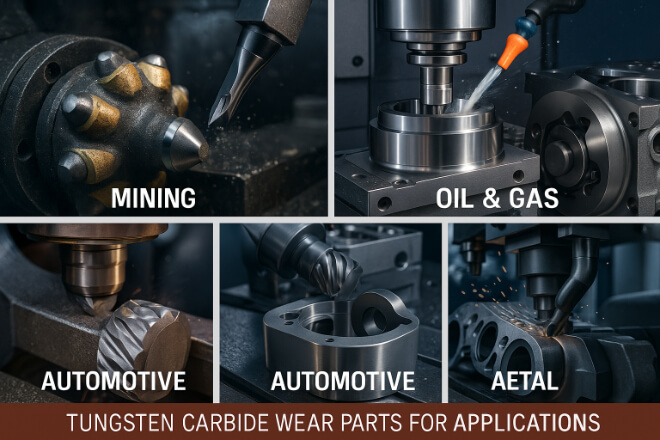
Minería – Drill tips, wear plates, crusher components.
Petróleo y gas – Valve seats, choke beans, seal rings.
Automotor – Precision molds, punches, and dies.
Aeroespacial – High-stress bearings, resistente al desgaste tooling.
Metal Forming – Wire drawing dies, extrusion tools.
Best Practices for Decision-Makers

If you are sourcing carbide wear parts, consider these tips:
Ask for the manufacturing process details – Know how your supplier controls shrinkage and finishing.
Verify quality control procedures – Ensure parts are measured at multiple stages.
Check machine capability – Suppliers should have grinders and lapping machines that can hold your required tolerance.
Review past case studies – Look at examples of similar projects and their tolerance levels.
Conclusión
In carbide wear part manufacturing, precision tolerances are the difference between a part that lasts months and one that fails in weeks.
The right manufacturing process, quality control, and supplier expertise can save money, reduce downtime, and improve productivity.
For decision-makers, investing in high-precision parts is not just a technical choice—it’s a competitive strategy.
Si desea conocer más detalles sobre alguna empresa, no dude en contactarnos. Contáctanos.
