
1. Why Regular Inspection Is Important
Tungsten carbide tools are expensive—but they’re worth the price because of their long life and cutting performance.
Still, they don’t last forever. Every cut creates friction and wear. Over time, coatings break down, edges become dull, and micro-cracks can form.
Regular inspection helps you:
Avoid unexpected tool failure
Maintain high-quality part finishes
Reduce scrap and rework
Plan maintenance better
Save money by catching issues early
Think of inspection as an investment—it keeps your shop productive and your machines running efficiently.
2. Basic Signs of Tool Wear or Damage
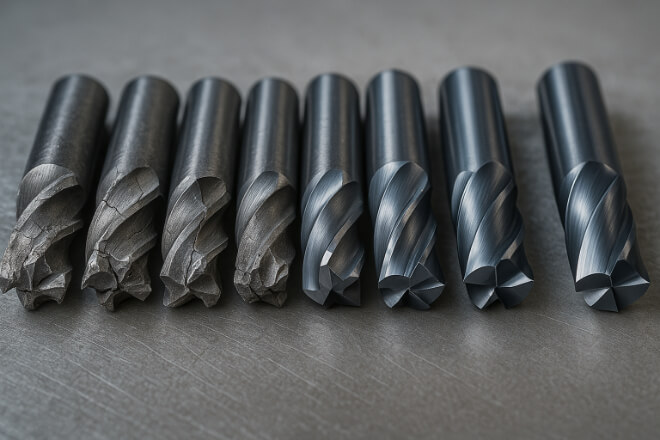
Before diving into tools and methods, it’s helpful to know what kinds of wear and damage you’re looking for. Carbide tool wear comes in many forms, and different cutting operations cause different wear patterns.
Common types of damage include:
Flank wear: Wear on the side of the cutting edge, typically due to friction with the workpiece.
Crater wear: A concave wear spot on the tool’s rake face, usually caused by chip flow.
Chipping: Small pieces break off the cutting edge, often due to impact or vibration.
Notching: Localized wear near the depth-of-cut line.
Built-up edge (BUE): Material sticks to the cutting edge, affecting performance.
Thermal cracks: Tiny cracks due to repeated heating and cooling.
Coating failure: The protective coating wears off, exposing the base carbide.
If you see any of these, it’s time to consider whether to regrind, recoat, or replace the tool.
3. Visual Inspection: First Step, Easy and Effective

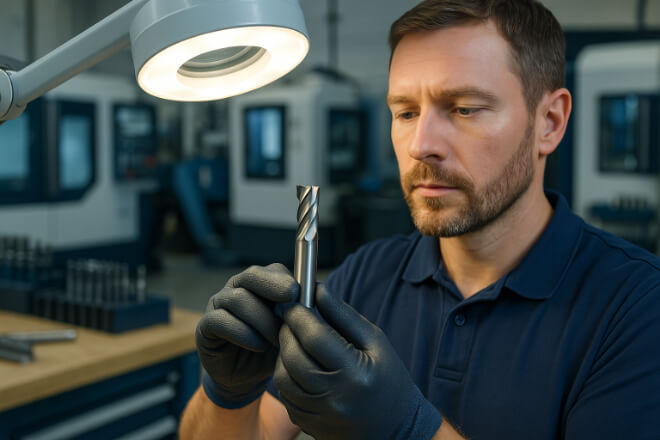
The easiest way to start checking tools is simply by looking at them—closely.
What to do:
Use a magnifying glass (10x or more) or a digital microscope.
Rotate the tool under good lighting to catch small cracks or chips.
Compare worn tools to new ones to spot differences in edges or coatings.
Visual inspection is fast and inexpensive. Even untrained staff can learn what to look for with a little practice.
But keep in mind—it doesn’t show everything. Some damage might be microscopic or internal.
4. Use a Toolmaker’s Microscope or Digital Microscope
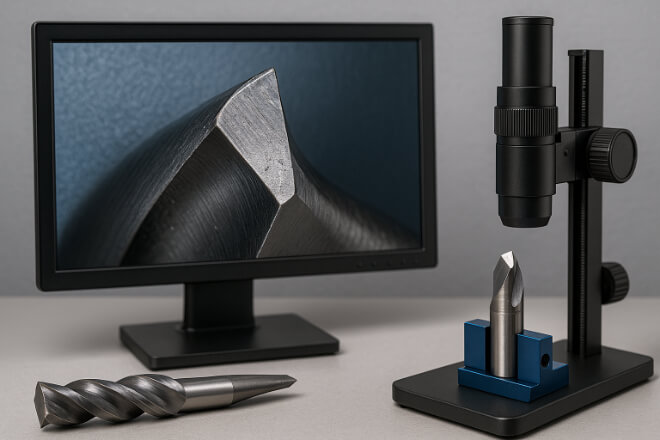
For a closer look, use a toolmaker’s microscope or a digital microscope. These devices can zoom in at high magnification (20x–200x or more) and often come with a screen for easy viewing.
With a digital microscope, you can:
Capture high-resolution images
Measure edge radius or wear width
Spot tiny cracks, coating loss, or rough spots
Some models even allow you to compare before-and-after shots or log images into inspection reports.
This is especially useful for high-precision jobs like aérospatial ou medical machining where exact tool geometry matters.
5. Check for Cutting Edge Integrity
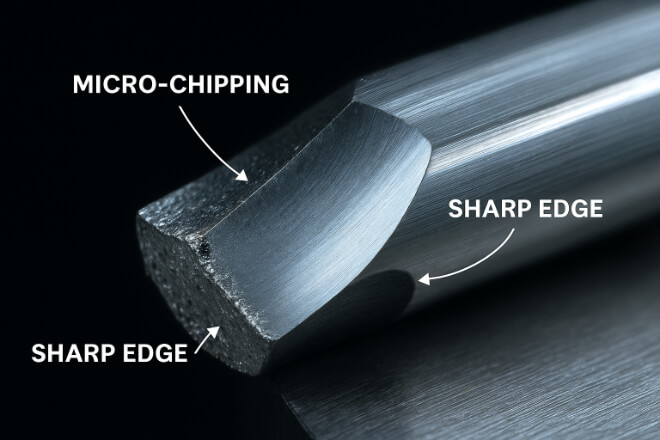
A worn cutting edge affects both tool performance and part finish. If the edge isn’t sharp, it creates more friction, more heat, and more stress on the machine.
Signs of edge failure:
Rounded edges instead of clean, sharp lines
Jagged or uneven edge profiles
Micro-chipping visible under magnification
If the edge is damaged but the body of the tool is still in good shape, you may be able to regrind it. If not, replacement is the safer choice.
6. Use Tool Presetters and Measuring Equipment

Modern CNC shops often use tool presetters to measure tools before putting them in the machine. These devices check dimensions like:
Tool length
Cutting diameter
Runout or concentricity
If your tool has worn edges or deformation, presetters will catch the difference from nominal values.
Some presetters also check the edge condition and can alert you if a tool is outside acceptable limits.
Investing in this equipment may seem costly at first, but it helps ensure consistent part quality and reduces trial-and-error in the machine.
7. Machine Feedback and Cutting Performance
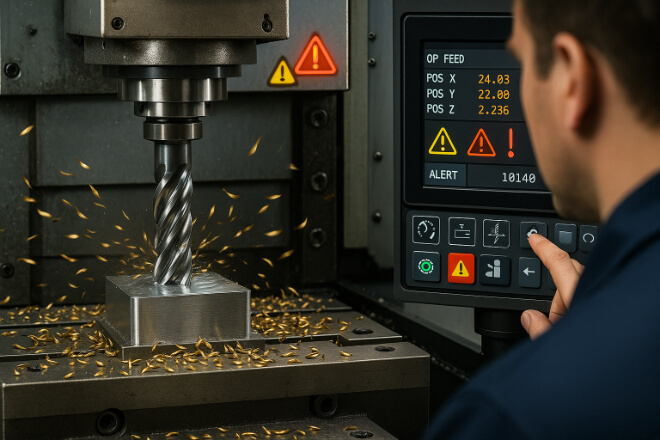
Sometimes, your CNC machine itself tells you something is wrong.
Watch for:
Unusual vibration or chatter
Spindle load increasing
Changes in chip color or shape
Burning smell or discoloration on parts
Rough or inconsistent surface finish
These are indirect signs of tool wear or damage. If your parts start drifting out of tolerance, or the surface looks different than normal, your tools could be the reason.
8. Use Tool Life Tracking Software
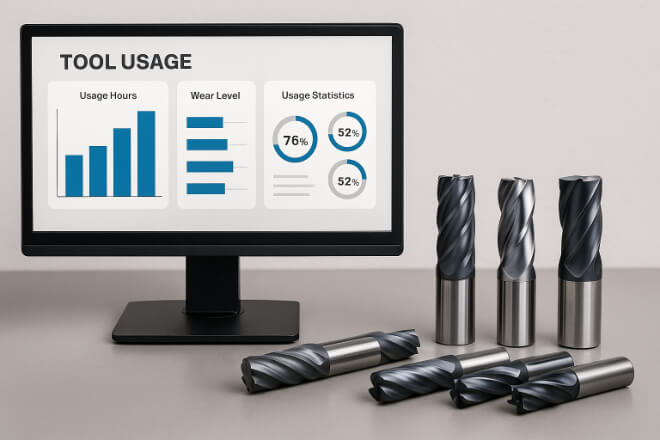
Many shops now use software to track how long tools have been in use, how many parts they’ve machined, or how much material they’ve cut.
Tool management systems help you:
Schedule inspections or replacements
Track regrinding cycles
Predict tool failure based on historical data
Combining inspection data with software gives you the best chance to prevent downtime and avoid wasting tools that still have life left.
9. When to Replace vs. Regrind
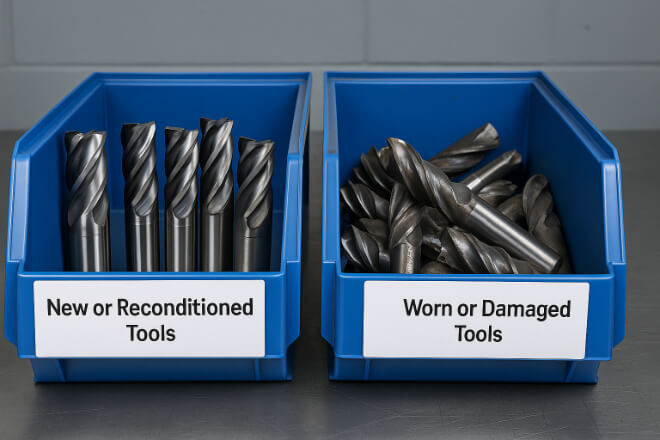
Inspecting your tools helps answer a big question: should you replace the tool or try to regrind it?
Choose to replace if:
There are cracks or deep chips
The tool is too short after previous regrinds
The coating has worn off completely
You need maximum performance or reliability
Choose to regrind if:
Only the cutting edge is worn
The core geometry is intact
The tool is still long enough to reprofile
You want to save cost without sacrificing quality
Note: Regrinding works best for high-quality carbide tools. Cheaper tools may not survive reconditioning or may perform poorly after.
10. Keep a Tool Inspection Log
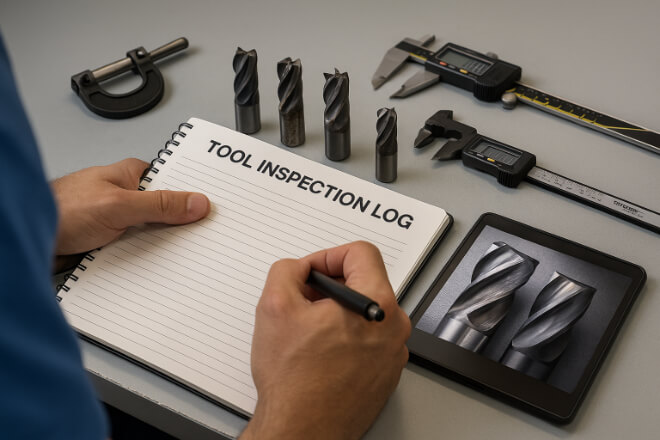
One of the smartest things a shop can do is keep a simple inspection log. Whether digital or on paper, tracking tool condition helps you spot patterns and make smarter purchasing decisions.
What to record:
Tool type and size
Date inspected
Wear condition (e.g., flank wear 0.2 mm)
Action taken (e.g., regrind, replaced, no action)
Machine and job used on
Over time, this log helps you compare suppliers, coatings, and tool brands based on how they actually perform in your environment.