bagues en carbure de tungstène are critical components used in pumps, compressors, and industrial machinery where résistance à l'usure, strength, and precision are essential.
For decision-makers in manufacturing or maintenance, ensuring each bushing meets strict quality standards is not optional—it is vital for reliability and cost control.
This article explains the main testing and quality inspection methods used for tungsten carbide bushings.
It covers mechanical, dimensional, surface, and non-destructive tests in simple terms, helping you understand how reliable suppliers verify product quality before shipment.
Importance of Testing and Quality Control

Every tungsten carbide bushing must perform under harsh conditions—high pressure, friction, and chemical exposure.
Poor-quality bushings can lead to serious failures such as leakage, vibration, or shaft damage.
Testing and inspection help ensure:
Consistent material quality
Accurate dimensions and surface finish
Proper bonding between tungsten carbide and binder
Long-term durability in real applications
Reliable testing gives you confidence that the bushings you purchase will last longer and reduce unplanned downtime.
Raw Material Inspection
Quality begins with raw materials. The poudre de carbure de tungstène and metal binder (usually cobalt or nickel) must meet specific purity and grain-size standards.
Common tests include:
| Inspection Item | But | Method |
|---|---|---|
| Powder purity | X-ray fluorescence (XRF) | |
| Taille des grains | Ensure proper hardness–toughness balance | SEM or particle size analysis |
| Contenu du liant | Confirm correct Co/Ni ratio (e.g., 6–12%) | Chemical analysis |
Raw material testing ensures the base ingredients create a dense, defect-free carbide structure.
Dimensional Accuracy Testing

After sintering and grinding, the bushing must meet tight tolerances. Even a few microns can affect fit and performance.
Main dimensional inspection methods:
Micrometer measurement – Checks outer and inner diameters.
Dial gauge or CMM (Coordinate Measuring Machine) – Measures concentricity and roundness.
Go/No-Go gauges – Used for quick fit verification during production.
Decision-makers should ensure their suppliers follow ISO tolerance grades (such as H6 or H7) depending on the application’s precision needs.
Surface Finish Inspection

Surface quality affects lubrication and résistance à l'usure. A rough or uneven surface can cause friction or leakage in pumps and compressors.
Common surface inspection tools:
Surface roughness tester – Measures Ra (average roughness).
Optical microscope – Detects micro-pits, scratches, or cracks.
Visual inspection – Identifies surface discoloration or grinding marks.
Typical finish requirements for tungsten carbide bushings are Ra 0.05–0.25 µm, depending on the mating shaft material and fluid conditions.
Hardness and Density Testing
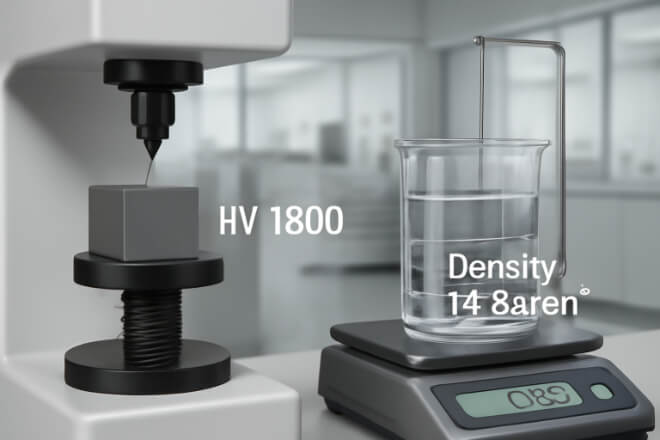
Dureté testing ensures the carbide structure can resist wear and deformation. Densité testing checks for internal porosity or sintering quality.
Vickers Hardness Test (HV): A diamond tip presses into the material surface to measure resistance. Tungsten carbide bushings usually range between HV 1400–1800.
Density Test (Archimedes method): Measures the weight difference in air and water to calculate porosity.
These tests confirm that sintering and material mixing were properly done.
Non-Destructive Testing (NDT)
Non-destructive testing helps detect internal cracks or voids without damaging the part.
This is critical for expensive carbide bushings that must retain structural integrity.
| Méthode CND | Description | Application |
|---|---|---|
| Contrôle par ultrasons (UT) | Large or thick bushings | |
| Contrôle par ressuage (PT) | Liquid dye highlights surface cracks | Finished bushings |
| Essais par particules magnétiques (MT) | Detects cracks in magnetic materials | Limited use (mainly for steel-backed bushings) |
Choosing the correct NDT method ensures defects are caught before assembly or shipping.
Analyse de la microstructure
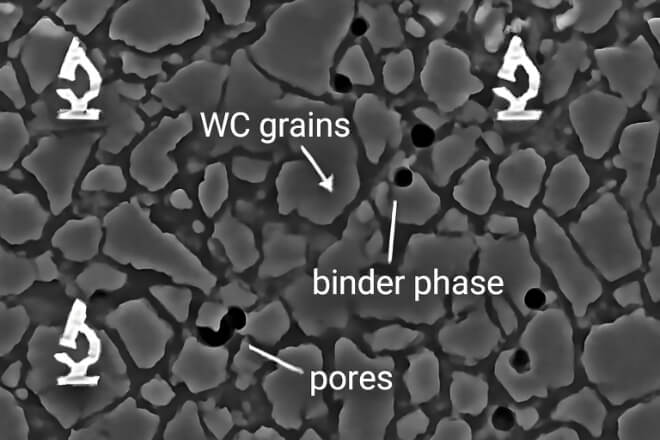
The microstructure of tungsten carbide directly affects performance. Microscopic inspection reveals:
Grain size distribution
Binder phase uniformity
Presence of pores or cracks
Techniques used:
Scanning Electron Microscope (SEM) – High magnification check for grain bonding.
Etching and optical microscopy – Shows carbide-binder balance and defect zones.
A fine, evenly distributed structure offers high wear resistance and toughness balance.
Functional Performance Tests
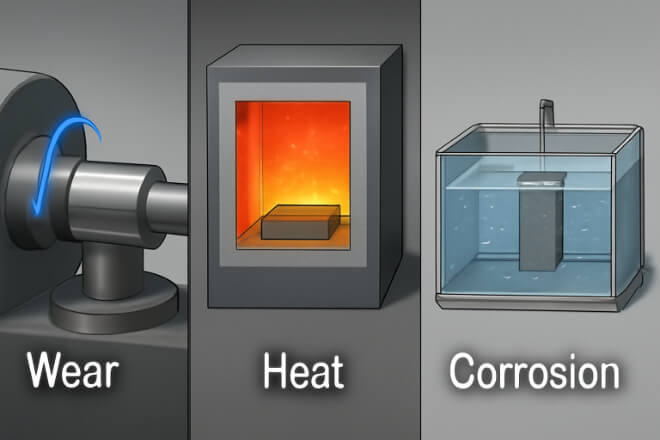
In some projects, suppliers perform simulated performance tests to confirm real-world reliability.
Examples:
Wear test – Simulates frictional contact under load.
Thermal shock test – Checks stability under rapid temperature changes.
Corrosion test – Exposes the bushing to acids, alkalis, or saltwater to measure resistance.
These tests provide confidence that the bushings can survive harsh environments like oil pumps, chemical compressors, or seawater systems.
Documentation and Certification
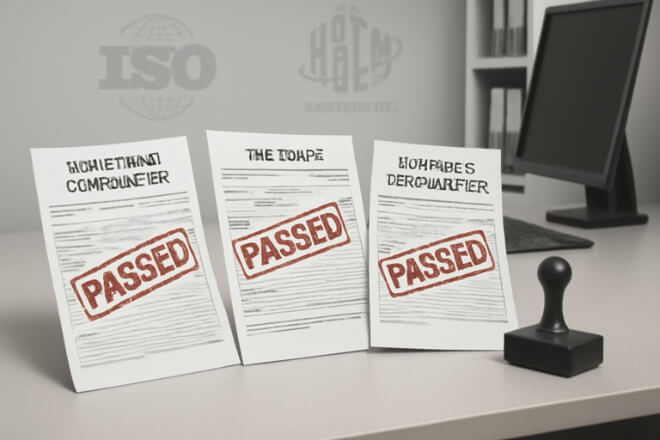
A professional supplier provides complete quality documentation, including:
Material certificates
NDT inspection results
Batch traceability numbers
These records allow decision-makers to verify compliance with ISO, ASTM, or API standards.
When choosing a tungsten carbide bushing supplier, always request inspection documentation to confirm traceability and reliability.
Final Inspection Before Shipment

Before packing, every bushing goes through a final quality check:
Reconfirmation of key dimensions
Surface visual check under bright light
Verification of labeling and batch number
Protective oil coating and packaging for shipment
This final stage ensures only fully inspected products reach the customer.
Conclusion
Testing and quality inspection are not just technical steps—they are your best protection against failure and loss.
From raw material testing to final inspection, every stage ensures that tungsten carbide bushings deliver the expected lifespan and performance.
When evaluating suppliers, focus on those who follow consistent, documented quality control procedures.
A reliable inspection process leads to fewer breakdowns, lower maintenance costs, and stronger long-term value for your operations.
Si vous souhaitez en savoir plus sur une entreprise, n'hésitez pas à Contactez-nous.
