
Why Proper Installation of Tungsten Carbide Tips Matters

Before diving into the installation process, it’s important to understand why proper installation is so crucial for maximizing performance.
Tungsten carbide tips are designed to withstand extreme forces, but incorrect installation can lead to issues such as premature wear, misalignment, and even tool failure.
Ensuring Proper Alignment
One of the key aspects of maximizing the performance of tungsten carbide tips is ensuring they are aligned correctly.
Misalignment can lead to uneven wear, reduced cutting efficiency, and in some cases, tip breakage.
Minimizing Stress and Strain
Improper installation can introduce stress points on the carbide tip, leading to cracks or premature wear.
Proper techniques and the right equipment ensure that the tip is installed without causing undue strain on the material.
Preventing Premature Damage
If a tungsten carbide tip is not installed correctly, it may experience unnecessary friction, high heat, and excessive wear.
Ensuring the right fit and applying the correct installation methods will help prevent these issues and increase the longevity of the tool.
Key Steps for Installing Tungsten Carbide Tips
Installing tungsten carbide tips involves several important steps. By following these steps carefully, you can maximize the performance and lifespan of your tools.
Let’s take a look at the best practices for installing tungsten carbide tips.
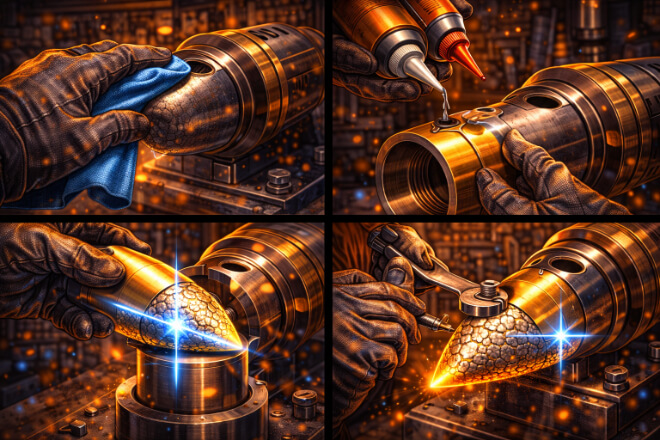
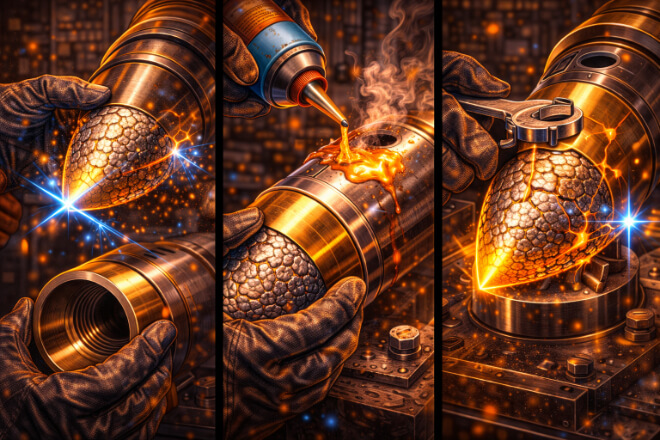
1). Preparing the Workpiece and Tip
Before you begin installing the carbide tip, you need to make sure both the workpiece and the tip are clean and free of any debris or contaminants.
Clean the workpiece: Ensure the surface of the tool or machine where the tungsten carbide tip will be mounted is clean. Any dirt, grease, or old adhesive can cause improper bonding or alignment.
Inspect the tip: Before installation, inspect the tungsten carbide tip for any visible defects, cracks, or chips that could affect performance.
2). Choosing the Right Adhesive or Mounting Method
There are two main methods for attaching tungsten carbide tips to the tool or machine: mechanical mounting and adhesive bonding.
Mechanical Mounting:
This method is often used for larger tools and involves physically securing the carbide tip with screws or bolts.
It is essential to ensure the mounting hole is clean and properly sized to prevent loose or uneven fittings.
Adhesive Bonding:
For smaller tools or more precise applications, adhesive bonding is commonly used.
Select an adhesive that is designed to handle the high stresses and temperatures that tungsten carbide tips will face.
The adhesive should be applied evenly to prevent gaps and ensure a strong bond.
3). Ensuring Proper Alignment
Correct alignment is essential to ensure the tip functions as intended. Misalignment can result in uneven wear, increased friction, and eventual failure of the tip.
Use alignment jigs or fixtures to ensure the tip is positioned accurately.
Check the fit by lightly pressing the tip into place before finalizing the installation.
Double-check the positioning before applying pressure or securing the tip with adhesives or bolts.
4). Securing the Tip
Once the tip is in position and properly aligned, it’s time to secure it.
For mechanical mounting, tighten the screws or bolts securely, but avoid overtightening, as this can crack the carbide tip.
For adhesive bonding, allow the adhesive to cure completely before applying pressure or using the tool. Follow the manufacturer’s recommendations for curing time and conditions.
5). Final Checks and Testing
Once the tungsten carbide tip is installed, it’s important to perform a final inspection and test the tool.
Check for gaps: Ensure there are no visible gaps between the tip and the workpiece.
Test for stability: Gently test the tool for any signs of movement or instability before beginning normal operation.
Perform a trial run to ensure that the tip functions correctly under normal operating conditions.
Common Mistakes to Avoid When Installing Tungsten Carbide Tips
While installing tungsten carbide tips seems straightforward, there are several common mistakes that can lead to poor performance or premature damage.
1). Ignoring Proper Alignment
One of the most common mistakes is not aligning the carbide tip properly. Misalignment can cause uneven wear, vibrations, and ultimately, reduced tool life. Always take the time to align the tip carefully.
2). Using the Wrong Adhesive
Using an adhesive that is not designed for high-temperature, high-stress applications can result in weak bonding.
Always choose adhesives that are specifically formulated for use with tungsten carbide and similar materials.
3). Over-tightening Fasteners
When mounting the carbide tip with bolts or screws, over-tightening can crack or damage the tip. Always follow the manufacturer’s specifications for torque settings to prevent this issue.
4). Skipping Surface Preparation
Surface preparation is essential for ensuring a strong bond. Skipping the cleaning process can lead to improper adhesion and may cause the tip to loosen or wear prematurely.