
1. Raw Materials: Tungsten and Cobalt
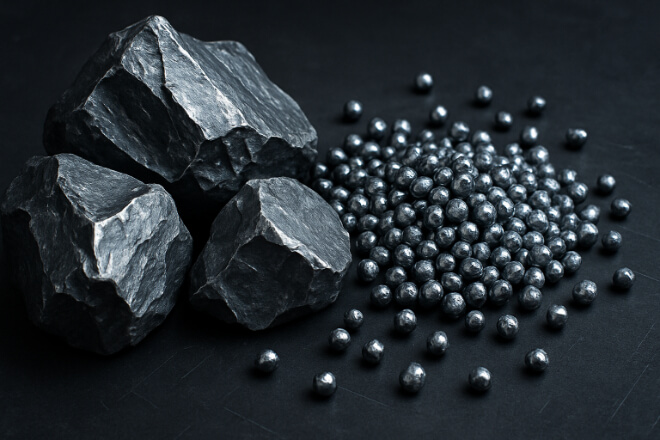
The process starts with raw materials — mainly tungsten and cobalt. Tungsten comes from tungsten ore, which is processed into tungsten oxide.
This oxide is reduced to metallic tungsten powder using hydrogen. Cobalt, often used as a binder, is added to make the material tougher.
The powders must be extremely fine — usually under 5 microns. The smaller the particles, the better the final tool’s strength and 내마모성.
2. Powder Mixing and Blending
Once the tungsten and cobalt powders are ready, they are mixed together with other elements if needed.
For example, titanium carbide or tantalum carbide might be added to improve heat resistance or toughness.
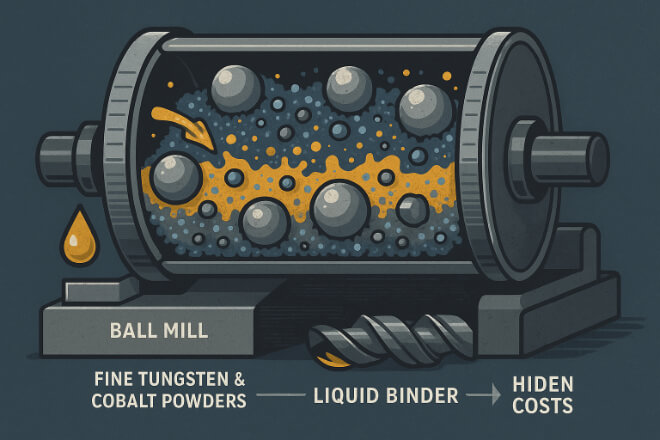
A process called wet milling is used to mix the powders evenly. A liquid (like ethanol or water) is added, and the mix is blended in a ball mill with tiny metal balls that help break down particles and create a smooth, consistent mixture.
This slurry (wet mix) is then dried to remove the liquid. What’s left is a soft, uniform powder ready for shaping.
3. Pressing the Powder into Shape

The dry powder is pressed into shape using a machine called a compaction press.
This step turns the powder into a “green compact” — a part that looks like a cutting tool but is still fragile and soft.
Two common pressing methods are used:
Uniaxial pressing for simple shapes like blanks or discs
Cold Isostatic Pressing (CIP) for more complex or larger shapes
These parts are typically pressed at 150–300 MPa of pressure to hold their form.
4. Pre-Sintering (Optional Step)
In some cases, the green parts go through pre-sintering. This is a low-temperature heating step (around 700–900°C) that removes any remaining moisture and helps harden the shape slightly.
It makes the part easier to handle during grinding or machining before final sintering.
This step also improves dimensional stability and reduces the risk of defects later.
5. CNC Pre-Machining and Shaping
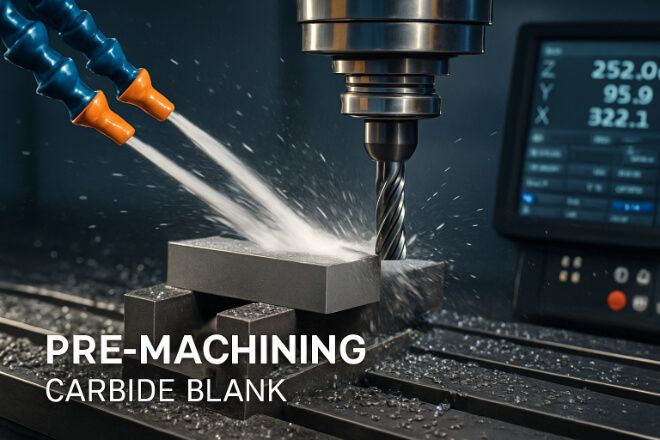
After pressing and possibly pre-sintering, the parts may be machined or ground slightly to get closer to their final shape. At this stage, the material is still relatively soft and easier to work with.
This step helps:
Add holes or slots
Prepare the part for tight-tolerance grinding later
Remove surface defects from pressing
It also helps reduce material waste in the next stages.
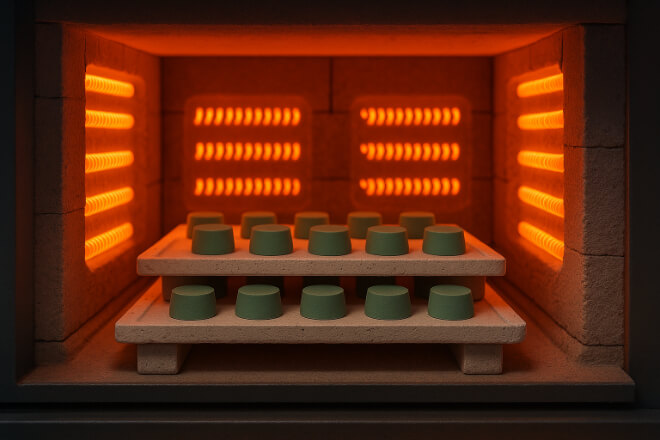
6. Sintering: Turning Powder into Solid Carbide
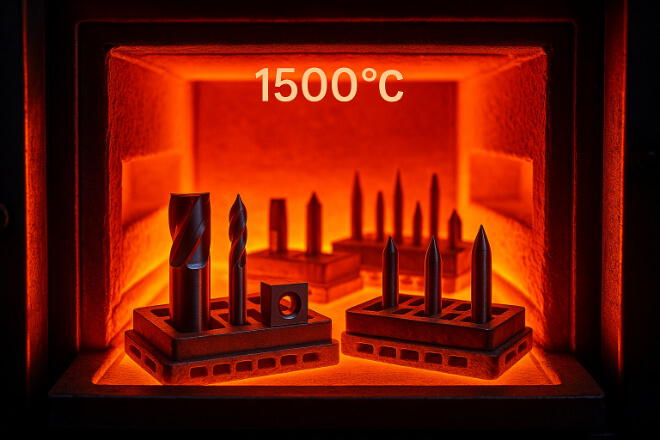
Sintering is the most important part of the process. It transforms the pressed powder into a solid, hard, and dense material by heating it in a special furnace.
Here’s what happens:
The part is heated to around 1400–1500°C
The cobalt melts and binds the tungsten grains together
The part shrinks by about 20% in size but becomes much harder and denser
This process takes several hours and must be carefully controlled to avoid cracks or internal stress.
Once sintered, the tool is now fully solid tungsten carbide — incredibly hard but also brittle, which is why precision grinding is needed next.
7. Grinding to Final Dimensions
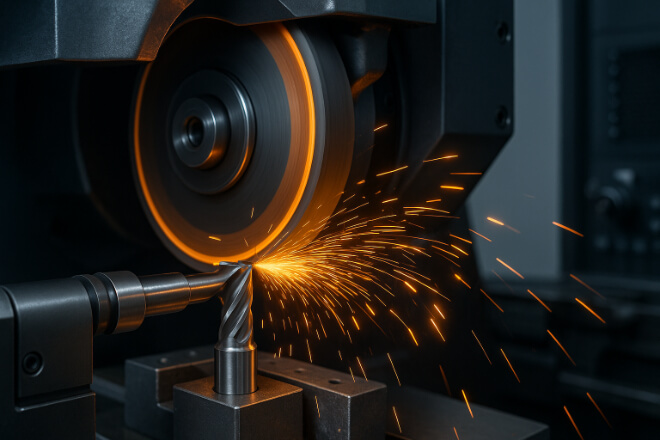
After sintering, the part is extremely hard and cannot be machined with regular tools. Instead, diamond grinding wheels are used to shape the final dimensions and cutting edges.
This is where tight tolerances (such as ±0.001mm) are achieved. Grinding is done on specialized CNC grinders and includes steps like:
OD (outer diameter) grinding
Centerless grinding
Fluting or edge profiling
End cutting face formation
Good grinding quality is critical — poor grinding can cause micro-cracks or uneven cutting edges that reduce tool life.
8. Applying Tool Coatings (Optional but Important)
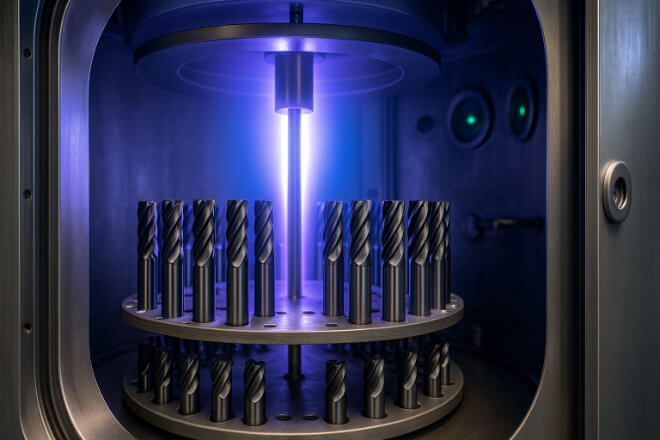
Many modern tungsten carbide cutting tools include high-performance coatings to increase tool life and improve performance.
Some common coatings include:
TiAlN (Titanium Aluminum Nitride): Great for high-speed machining
AlTiN: Similar but better at handling heat
DLC (Diamond-Like Carbon): Perfect for aluminum or plastic
CVD Diamond Coatings: For ultra-hard machining tasks like graphite or composites
Coatings are applied using PVD (Physical Vapor Deposition) or CVD (Chemical Vapor Deposition) systems in clean, high-tech chambers.
These coatings:
Reduce wear and friction
Prevent material buildup
Allow faster cutting speeds
Extend tool life by 2–5x in many cases
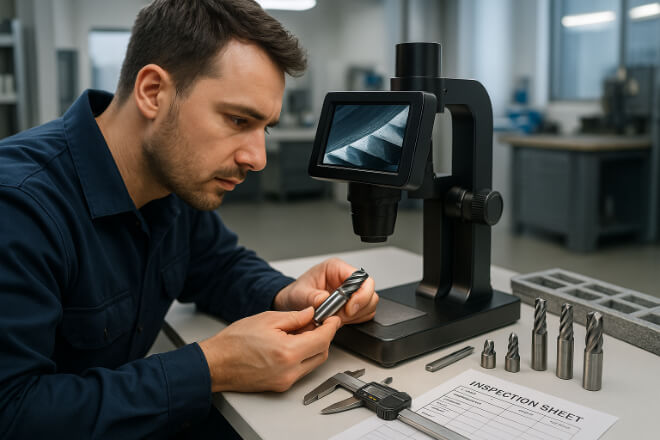
9. Quality Inspection and Testing
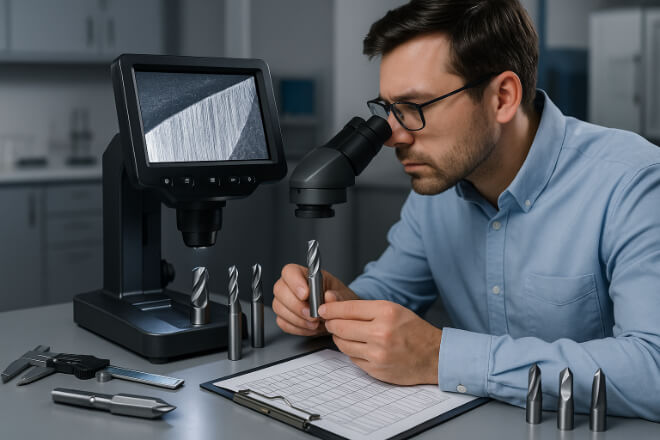
Before the tools are shipped, they go through strict quality checks. These checks make sure that each tool meets required tolerances, performance, and safety standards.
Inspections include:
Visual inspection for cracks, chips, or coating defects
Microscopic check of cutting edges
Dimensional measurement using precision tools
경도 testing
Runout and balance testing for rotary tools
Reliable suppliers usually provide inspection reports or certificates, especially for critical applications in 항공우주e or 자동차 industries.
10. Laser Marking and Packaging
Finally, finished tools are marked using a laser engraving system. This adds part numbers, sizes, or customer codes without damaging the surface.
After marking, the tools are carefully cleaned, oiled (if needed), and packed for shipment. Tools may be packed in:
Plastic single-use boxes
Foam-lined trays
Bulk cartons with separators
Proper packaging ensures that edges are protected during transport and storage.