
Why Installation Quality Matters for Tungsten Carbide Tips
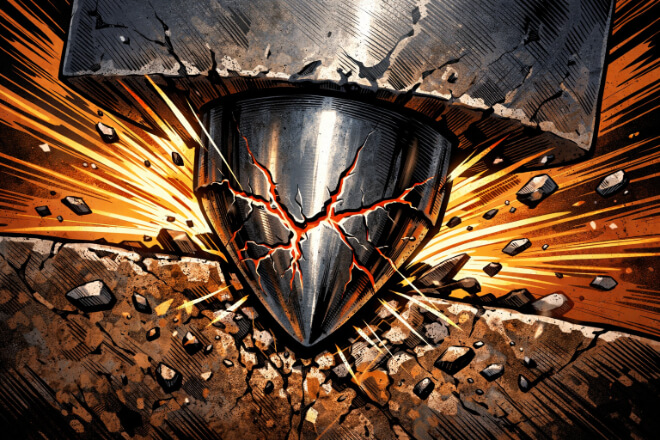
Tungsten carbide tips are strong, but they are not forgiving. Poor installation can create hidden stress, uneven load, or thermal problems that shorten tool life.
When a tip fails early, it often looks like a material issue. In reality, the root cause is usually incorrect alignment, wrong bonding method, or improper handling during installation.
For decision-makers, understanding these risks helps reduce downtime and replacement costs.
Mistake 1 – Poor Surface Preparation
One of the most common mistakes is installing tungsten carbide tips on dirty or poorly prepared surfaces.
Oil, dust, rust, or old adhesive residues prevent proper bonding and seating. This leads to micro-movement during operation, which increases stress and wear.
How to avoid it:
Clean the mounting surface thoroughly
Remove old adhesive completely
Ensure the surface is flat and undamaged
Use solvents suitable for industrial bonding
Proper surface preparation creates a stable base and improves long-term performance.
Mistake 2 – Incorrect Alignment During Installation
Misalignment is a silent killer for tungsten carbide tips. Even a small alignment error can cause uneven load distribution.
1). This often leads to:
Chipping at the edge
One-sided wear
Vibration and noise
Sudden tip breakage
2). How to avoid it:
Use alignment fixtures or jigs
Check concentricity before final fixing
Verify alignment after bonding or press-fitting
Avoid manual “eye-based” positioning
Correct alignment ensures the tip carries load evenly and lasts much longer.
Mistake 3 – Using the Wrong Bonding or Fixing Method
Not all tungsten carbide tips should be installed the same way. Using the wrong bonding method is a common and costly mistake.
Some applications require brazing, others require adhesive bonding, and some use mechanical fixing. Choosing incorrectly can lead to thermal cracks or weak joints.
1). Common bonding mistakes include:
Adhesive not rated for high temperature
Incorrect brazing temperature
Uneven adhesive thickness
Insufficient curing time
2). How to avoid it:
Match bonding method to operating conditions
Follow adhesive or brazing specifications
Control temperature carefully
Allow full curing before operation
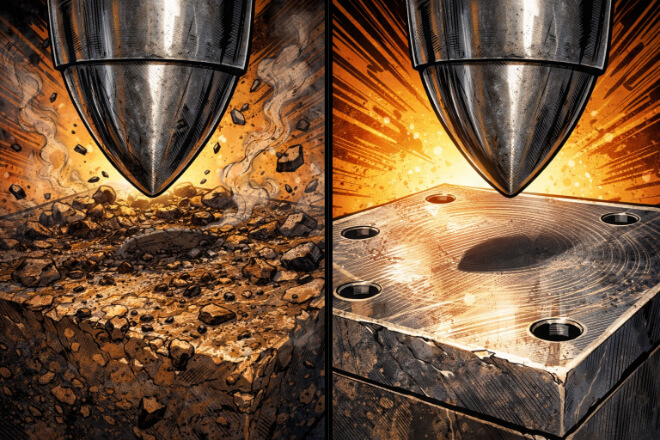
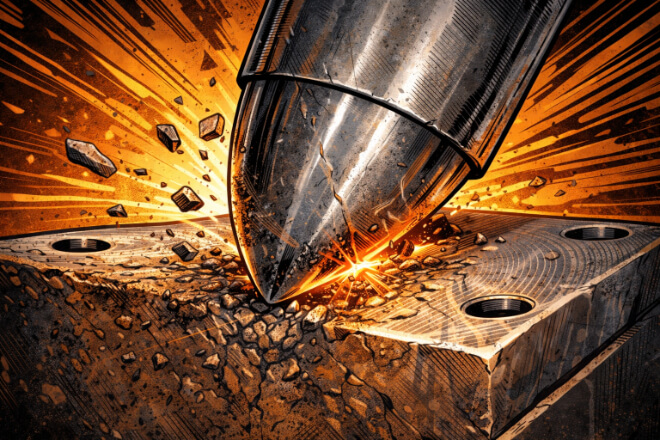
Mistake 4 – Applying Excessive Force or Pressure
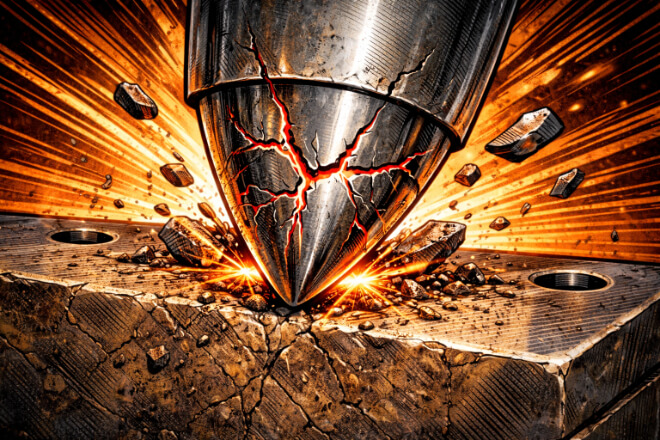
Tungsten carbide is extremely hard, but it is also brittle. Applying too much force during installation can cause internal micro-cracks that are not visible at first.
These cracks often grow during operation and lead to sudden failure.
1). Typical causes include:
Over-tightening bolts
Excessive press-fit force
Hammering during positioning
2). How to avoid it:
Follow recommended torque values
Use controlled press-fit tools
Never strike the tip directly
Apply force slowly and evenly
Gentle, controlled installation protects the internal structure of the carbide.
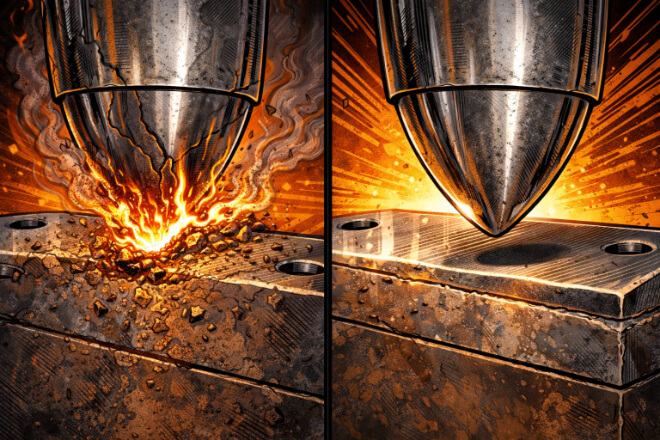
Mistake 5 – Ignoring Thermal Effects During Installation
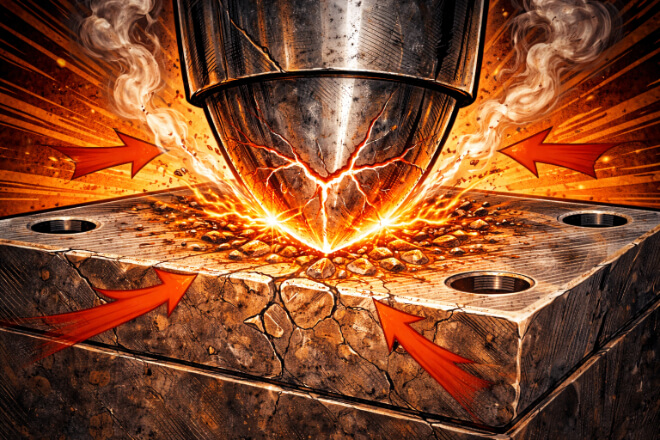
Temperature changes during installation are often overlooked. Heating or cooling too quickly can introduce thermal stress between the carbide tip and its base material.
This is especially risky when materials have different thermal expansion rates.
1). How to avoid it:
Heat gradually when brazing
Avoid sudden cooling
Use compatible base materials
Allow natural temperature equalization
Managing temperature reduces internal stress and prevents cracking.
Mistake 6 – Skipping Final Inspection and Testing
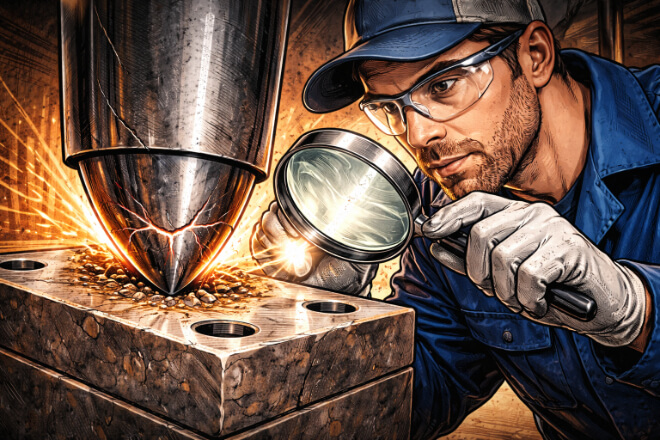
Many failures happen because tools are put into service without proper inspection.
Small installation errors can be detected early if checked correctly.
Final checks should include:
Visual inspection for gaps or cracks
Stability test by light movement
Trial run under low load
Noise and vibration monitoring
Skipping this step often leads to expensive downtime later.