Tungsten carbide tips are widely used in drilling, cutting, mining, and industrial machining because of their high 硬度 和 耐磨性。
However, even the strongest materials will wear over time. If wear or damage is not detected early, tool performance drops, operating costs increase, and unexpected failures can occur.
This article explains how to properly inspect tungsten carbide tips for wear and damage, using practical methods that help extend tool life and reduce downtime.
Why Regular Inspection of Tungsten Carbide Tips Is Important

Many companies focus on tool replacement but overlook inspection. In reality, inspection is the most cost-effective way to protect tungsten carbide tips.
Regular inspection helps you:
Detect early-stage wear before failure
Avoid sudden tool breakage
Maintain stable cutting or drilling performance
Reduce downtime and replacement costs
For decision-makers, inspection is not just maintenance—it is risk control.
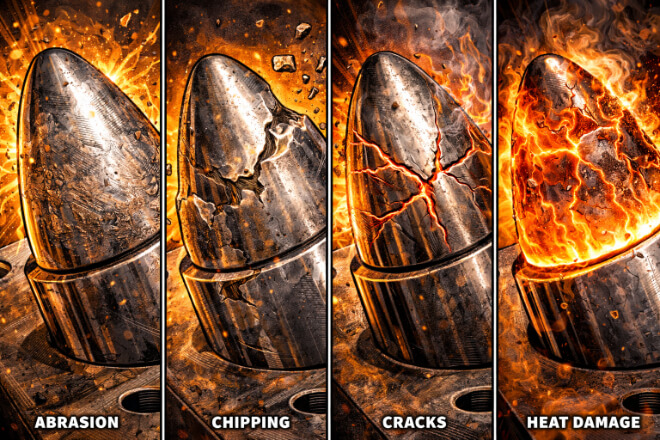
Common Types of Wear in Tungsten Carbide Tips

Before inspecting tips, it is important to understand what kinds of wear and damage typically occur.
1). 磨粒磨损
This happens when hard particles slowly grind the surface of the carbide tip. It is common in mining, drilling, and cutting abrasive materials.
2). Chipping and Edge Damage
Small chips often form at the cutting edge due to impact or incorrect installation. These chips grow over time and lead to poor performance.
3). Cracks and Fractures
Cracks may be caused by excessive force, thermal shock, or internal stress. Some cracks are not visible at first but expand during operation.
4). Thermal Damage
High temperatures can cause surface discoloration, micro-cracks, or loss of bonding strength, especially in high-speed applications.
Visual Inspection Methods for Tungsten Carbide Tips

Visual inspection is the first and fastest inspection method. It should be performed regularly, even during short maintenance stops.
1). What to Look For
Surface scratches or grooves
Edge rounding or chipping
Discoloration from heat
Uneven wear patterns
2). Best Practices
Use strong lighting
Rotate the tip slowly
Inspect edges and corners carefully
Compare with a new or unused tip
Visual inspection is simple but very effective when done consistently.
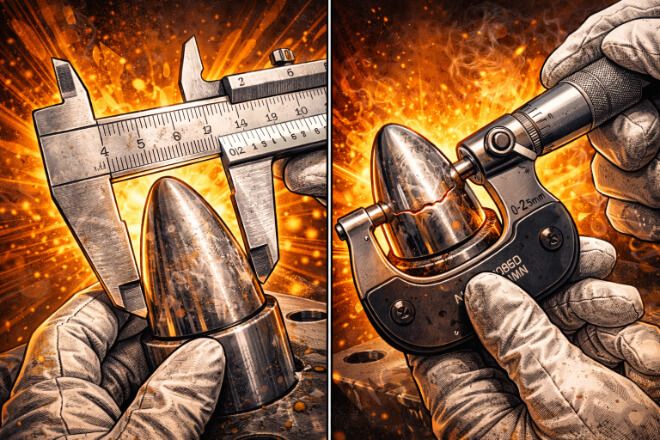
Measuring Wear Using Basic Tools

Visual inspection alone is not enough for precise evaluation. Measuring tools provide clear data.
1). Calipers and Micrometers
Use calipers or micrometers to measure:
Tip diameter
Edge thickness
Wear depth
Measure at multiple points to detect uneven wear.
2). When Measurement Is Necessary
When performance starts to drop
Before reinstallation
After high-impact or long service periods
Consistent measurement helps create replacement schedules instead of emergency shutdowns.
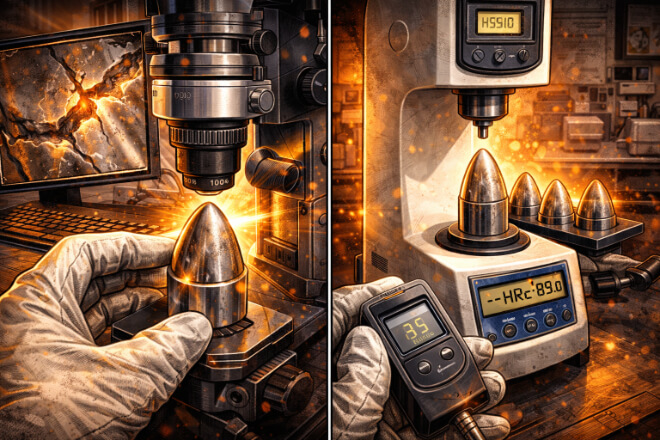
Advanced Inspection Techniques for Critical Applications

For high-value tools or safety-critical operations, advanced inspection methods may be required.
1). Magnification Inspection
Using magnifying lenses or microscopes helps identify:
Micro-cracks
Early chipping
Surface fatigue
2). Non-Destructive Testing (NDT)
Methods such as dye penetration or ultrasonic testing can detect internal cracks without damaging the tip.
These methods are often used in 航天, 石油和天然气, and precision machining.
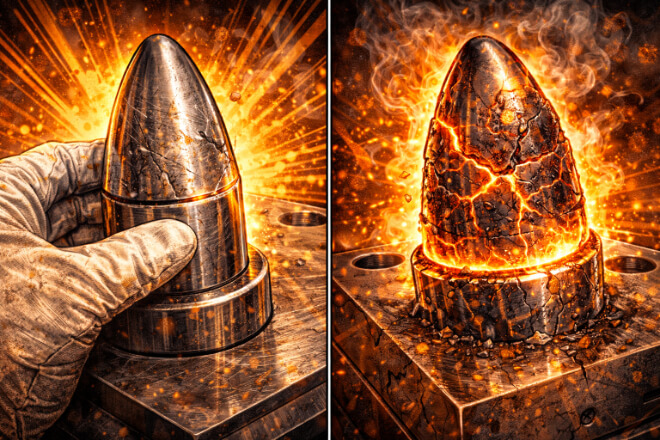
When to Repair or Replace Tungsten Carbide Tips

Not all worn tips need immediate replacement, but knowing the limit is critical.
1). Repair May Be Possible If:
Wear is uniform
No cracks are present
Edge geometry can be restored
2). Replacement Is Necessary If:
Cracks are visible
Large chips exist
Tip dimensions are out of tolerance
Bonding surface is damaged
Delaying replacement increases the risk of sudden failure.
Inspection Frequency Guidelines
Inspection frequency depends on application conditions.
| Application Type | Recommended Inspection Interval | Main Risk |
|---|---|---|
| Mining & Drilling | Daily | Impact and abrasive wear |
| High-Speed Machining | Every shift | Thermal damage |
| General Industrial Use | Weekly | Gradual wear |
Building an Effective Inspection Routine

A structured inspection routine improves consistency and accountability.
Key Elements
Standard inspection checklist
Trained personnel
Clear acceptance criteria
Inspection records
Over time, this data helps optimize tool selection and operating conditions.
结论
Inspecting tungsten carbide tips regularly is one of the simplest ways to extend tool life and reduce operating costs.
By combining visual checks, basic measurements, and advanced inspection when needed, companies can prevent unexpected failures and maintain stable performance.
A disciplined inspection routine turns maintenance from a reactive task into a strategic advantage.
如果你想了解任何公司的更多详情, 请随时联系我们.
