
1. Which Carbide Burr Cut Should You Choose for the Weld Material?
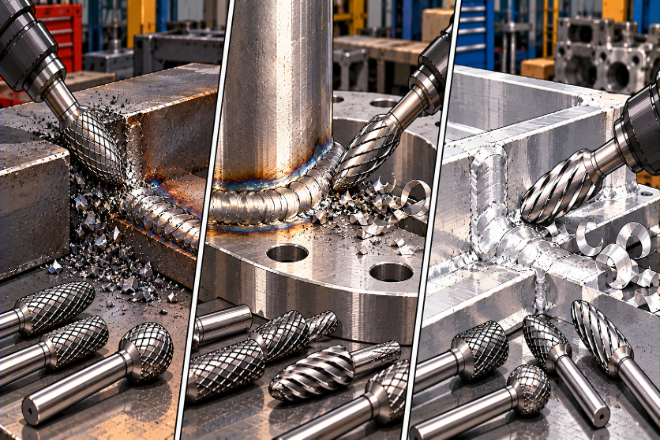
Start with the metal. This sounds simple, but it is one of the most useful rules when choosing carbide burrs for weld removal.
A fabrication shop may work with carbon steel in the morning, stainless steel after lunch, and aluminum before the shift ends.
One general-purpose burr may cut all three, but it may not be the most productive option for repeated work.
1). Carbon Steel and Cast Steel
For heavy steel weld removal, an aggressive steel-specific carbide burr is a strong starting point.
The goal is efficient stock removal without turning the grinder into a fight.
Modern steel-specific cuts are designed to produce larger chips and remove material quickly.
They are useful for weld seams, surface work, levelling, and milling out unwanted material.
This makes them suitable for jobs such as:
Removing raised steel weld beads
Opening defective weld areas
Levelling repair welds
Cleaning fabricated frames
Working around structural steel joints
A general double-cut or cross-cut burr can still be useful when more control is needed, especially as the tool gets closer to the parent metal.
2). Stainless Steel
Stainless steel deserves its own approach. A stainless-specific or INOX-type cut can provide strong stock removal while helping reduce vibration and heat during cutting.
That can be useful when working on stainless tanks, pipe systems, food equipment, process equipment, exhaust parts, and fabricated structures.
Cross-contamination also matters. Tools used on carbon steel should not automatically move into stainless work if surface contamination is a concern. Keeping dedicated burrs for stainless jobs can make tool control easier.
3). Aluminum Welds
Aluminum changes the game again. The material is soft, but the chips can stick between closely spaced cutting teeth.
For aluminum weld removal, an open ALU or non-ferrous cut is usually a better choice because the larger flute space helps chips escape.
The lesson is straightforward: Choose the cut for the metal before choosing it for the weld.
A weld may look similar from the outside, but the material underneath decides how the burr actually cuts.
3. Should You Use One Burr for Roughing and Finishing?
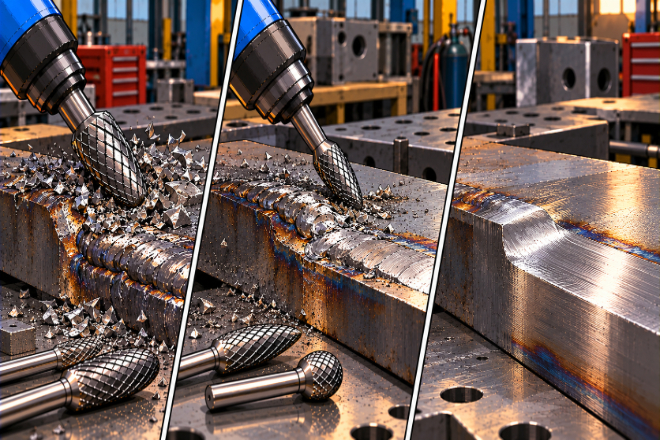
For small welds, perhaps. For larger weld-removal jobs, using two stages often makes more sense.
The first stage is about removing the bulk of the unwanted weld. The second stage is about controlling the last part of the cut.
1). Stage One: Remove the Bulk
An aggressive burr can quickly reduce a large raised weld bead. At this point, there is still enough weld material between the tool and the parent metal, so faster stock removal is useful.
A larger burr may also be practical if the weld is open and easy to reach.
2). Stage Two: Slow Down the Material Removal
As the weld gets close to the surrounding surface, the job changes. Now the question is no longer: How fast can we remove this weld?
It becomes: How do we remove the remaining weld without cutting into the part? A smaller burr, more controlled cut, or different shape may be better for this stage.
The operator can then blend the local area more carefully. If a very fine cosmetic surface is required, an abrasive finishing tool may follow the carbide burr.
That is perfectly normal. Carbide burrs are excellent cutting tools. They do not need to perform every finishing operation just to prove a point.
For production planning, separating rough removal from final blending can also improve tool life.
The aggressive burr does the heavy work, while the control burr does not spend its life fighting large weld beads.
One burr does not need to be the hero of the entire process.
4. How Do You Remove Welds Without Damaging the Base Metal?
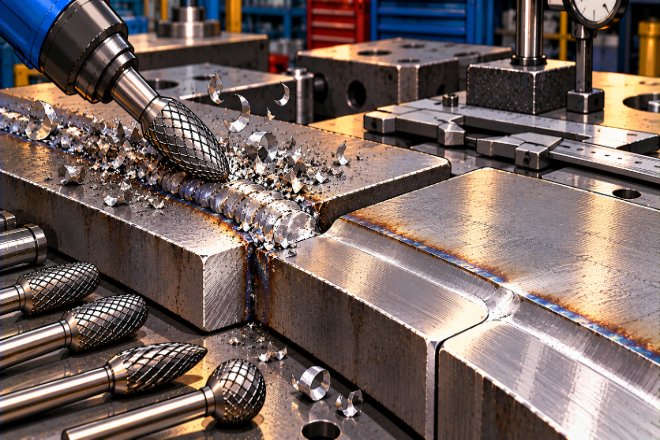
This is where weld removal becomes more than “grinding until the bead disappears.” The weld is unwanted. The base metal is not.
The closer the carbide burr gets to the original surface, the more important control becomes. Heavy pressure is usually a poor solution.
The cutting teeth should remove the metal through controlled rotation. Pushing harder can make the burr more difficult to guide and increase the chance of digging into the surrounding material.
Tool angle matters as well. If only a small part of the burr is doing useful cutting, control may improve. Burying a large section of the cutting head into a narrow joint can create higher forces and make the tool run less smoothly.
Keep the burr moving across the weld instead of holding it in one spot. Also watch the visual shape of the original component.
On a flat plate, the target may be easy to see. On a pipe, flange, curved housing, or fabricated corner, the original geometry can disappear quickly once the weld begins to blend into the surrounding metal.
Measurement may be necessary when wall thickness or final dimensions matter. This is especially important when removing a failed weld before rewelding.
The burr should remove the required weld and defective material according to the repair procedure. It should not casually change the joint geometry.
For critical welded structures, inspection and an approved weld repair process still control the job. A carbide burr is a cutting tool. It is not a welding inspector with a very fast motor.
5. What Changes When the Weld Is Hard to Reach?
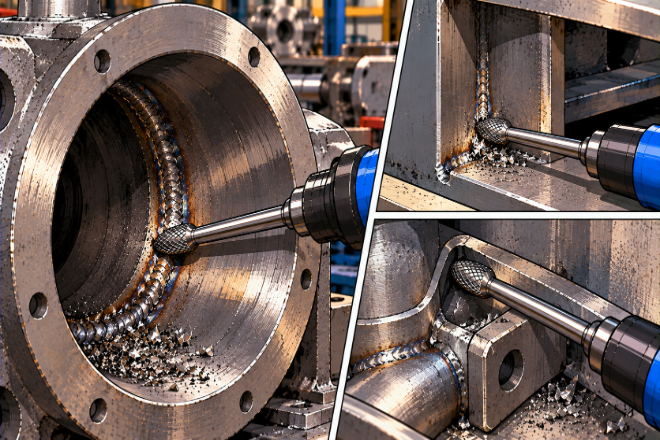
Access often decides which tungsten carbide burr is actually useful.
A weld may sit deep inside a pipe connection, behind a bracket, between closely spaced components, or inside a fabricated structure.
Standard-length burrs cannot always reach these areas. Long-shank carbide burrs can solve the access problem, but they introduce another issue: stability.
As the unsupported shank becomes longer, it becomes easier for the tool to bend and vibrate under side load.
That means deep weld removal needs more care. Use the shortest reach that can comfortably access the weld.
Keep the tool holder and collet in good condition. Avoid using the long shank as a lever. And do not increase pressure simply because the cutting head feels far away.
A smaller head can sometimes be more useful than a large one in a deep joint because it needs less room to move.
Access angle also matters. Before choosing the burr, look at the path the grinder must take to reach the weld.
A technically perfect burr is not very useful if the grinder body hits the workpiece before the cutting head reaches the joint.
For difficult fabrication and maintenance jobs, burr selection should therefore consider the complete setup:
Weld location → Access path → Burr shape → Head size → Shank length → Grinder. This can save a lot of awkward trial and error on the shop floor.
6. How Should a Fabrication Shop Choose Its Weld Removal Burrs?
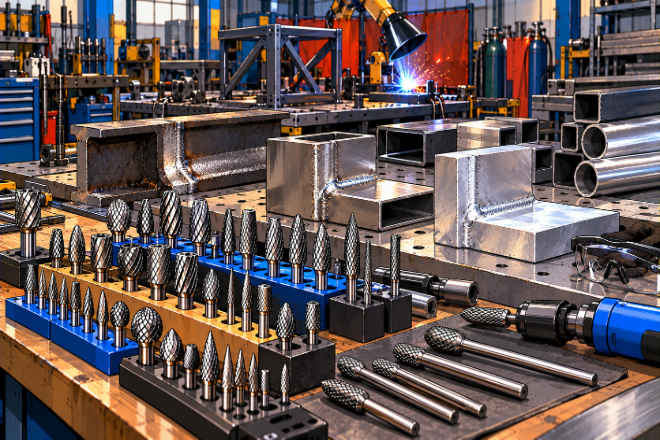
A busy fabrication shop probably does not need one “best weld removal burr.” It needs a small system of burrs that covers the work it actually performs.
Start with the materials. A shop working mostly with structural steel may benefit from several aggressive steel-specific burrs in useful shapes.
A stainless fabrication business should build its set around stainless-specific tools and keep them separated from carbon-steel tooling where contamination control matters.
A mixed-material repair shop may also benefit from a high-performance multi-material cut for jobs where flexibility matters more than maximum performance on one material.
Modern multi-material carbide burr cuts are available for steel, stainless steel, non-ferrous metals, and cast iron, including weld-seam work.
That can simplify inventory for maintenance teams that never know what will arrive through the door next.
Then look at shapes.
A practical weld-removal set may include:
Cylindrical radius-end burrs for open work
Tree radius-end burrs for corners
Ball or oval burrs for curved areas
Flame burrs for narrow transitions
Smaller heads for controlled final removal
Long-shank options for deep access
Finally, test them on real jobs.
Compare:
Weld removal time
Operator control
Vibration
Tool life
Surface condition
Secondary finishing time
Rework
Number of parts completed per burr
This is more useful than comparing the price of two individual tools.
A burr that costs less but takes longer, wears faster, and creates extra finishing work may be the expensive option hiding behind a cheaper invoice.
For production managers and purchasing teams, the best tungsten carbide burrs for weld removal are the ones that make the entire weld-removal process faster and more predictable.
 English
  Español
  简体中文
简体中文  Français
  日本語
日本語  한국어
한국어  العربية
  Tiếng Việt